

Comparing Granite, Quartz, and Porcelain Materials
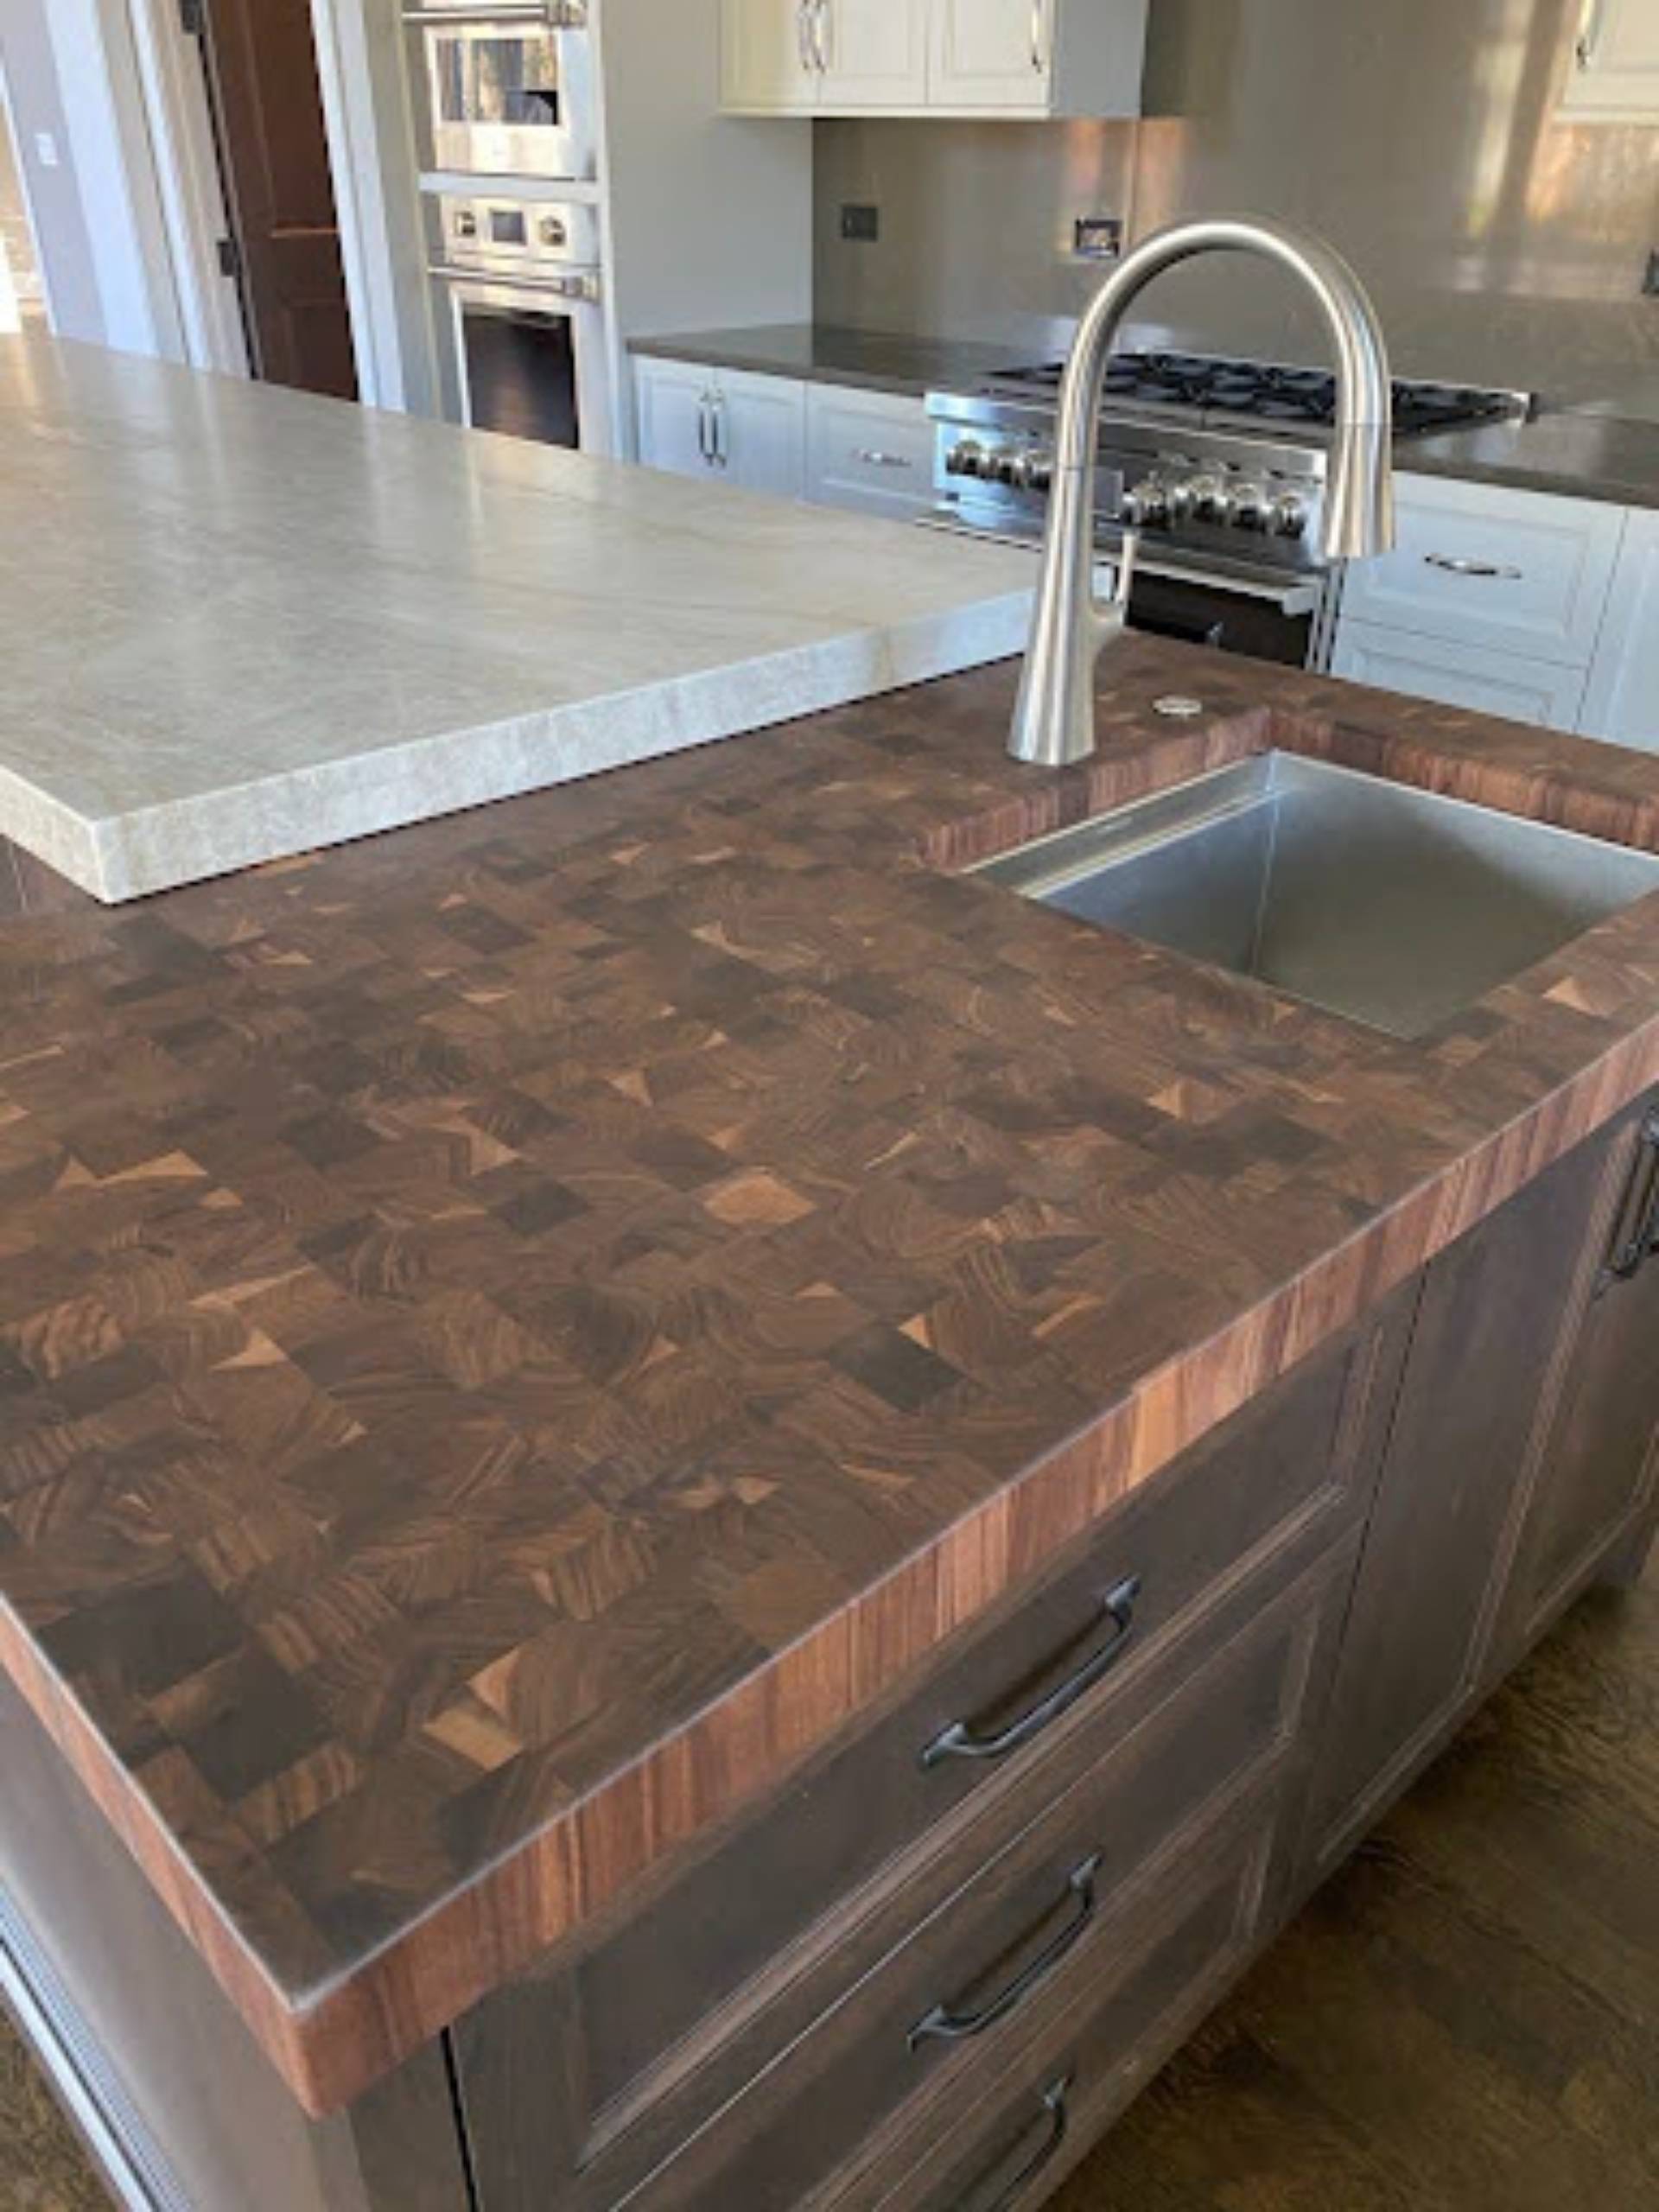
Your kitchen countertops are more than just a surface. They are a central feature of your home, adding both beauty and lasting value. Installing new stone countertops is a significant investment. It can greatly improve your home’s aesthetic and functional appeal for years to come.
Choosing the right material is crucial. But understanding the installation process is just as vital. In this guide, we will help you navigate this important decision. We will explore the key differences between popular options like granite, quartz, and porcelain.
We will also detail the critical steps involved in a successful stone countertop installation. This includes everything from initial planning to the final touches.

When considering new countertops for your home in July 2026, the primary choices often narrow down to granite, quartz, and porcelain. Each material offers distinct advantages in terms of aesthetics, durability, maintenance, and installation requirements, making the selection process highly dependent on your lifestyle and design preferences.
Granite: As a natural stone, granite is celebrated for its unique patterns and variations, ensuring no two slabs are exactly alike. Its durability is exceptional, making it highly resistant to scratches and heat. However, granite is a porous material, meaning it requires periodic sealing—typically once a year—to prevent staining from liquids like oils, wines, or acids. While generally robust, its natural composition can make it susceptible to acid etching if spills are not cleaned promptly. Installation of granite, especially for a professional team that fabricates and installs granite, involves careful handling due to its weight and natural fissures, which are inherent characteristics rather than defects. The installation process for granite also necessitates precise templating to accommodate its unique veining and ensure seamless integration.
Quartz: Engineered from approximately 90-93% natural quartz minerals combined with polymer resins and pigments, quartz offers a consistent appearance and a wide array of colors and patterns. Unlike granite, quartz is non-porous, making it highly resistant to stains and eliminating the need for sealing. This low-maintenance quality is a significant draw for many homeowners. Quartz is also exceptionally durable, resisting scratches and impacts well. However, it can be less heat-resistant than granite or porcelain, and extreme, prolonged heat can potentially damage the resin binders, leading to discoloration or warping. In terms of weight, Caesarstone quartz slabs, for instance, weigh between 189-210 kg (417-463 lb) for 20 mm thickness and 290-306 kg (639-675 lb) for 30 mm thickness, requiring robust cabinet support during installation.
Porcelain: A relatively newer contender in the countertop market, porcelain slabs are manufactured from ceramic clays and mineral oxides, fused at extremely high temperatures (around 1150°C). This process results in a remarkably dense, non-porous, and incredibly durable surface. Porcelain is highly resistant to heat, UV light, scratches, and stains, making it an excellent choice for both indoor and outdoor applications. Its non-porous nature means it requires no sealing and is very easy to clean. Porcelain slabs, like Caesarstone Porcelain, are typically thinner, around 12 mm, and weigh 138-142 kg (304-313 lb) for a full-sized slab. Despite their thinner profile, their strength and resistance to extreme conditions are outstanding. However, installation requires specialized tools and expertise due to its hardness and potential for chipping if not handled correctly.
Feature Granite Quartz Porcelain Composition Natural stone Engineered (90-93% quartz, resin) Engineered (ceramic clays, mineral oxides) Durability High (scratch, heat resistant) High (scratch, impact resistant) Very High (scratch, heat, UV, stain resist) Maintenance Requires periodic sealing (annual) Low (non-porous, no sealing) Very Low (non-porous, no sealing) Heat Resist. High Moderate (can be damaged by extreme heat) Very High (fused at 1150°C) Stain Resist. Moderate (if sealed, porous) High Very High Appearance Unique natural patterns, variations Consistent, wide range of colors/patterns Consistent, often mimics natural stone/concrete Weight (20mm/30mm) Varies by stone, generally heavy 189-210 kg (20mm), 290-306 kg (30mm) 138-142 kg (12mm slab) Cost Moderate to High Moderate to High Moderate to High Finishes Polished, honed, leathered Polished, honed, concrete, matte Polished, honed, matte, textured Different finishes also influence maintenance. A polished finish on granite or quartz offers a classic, reflective look but can show fingerprints more readily. A honed (matte) finish provides a softer, less reflective appearance, which can be more forgiving for minor imperfections but might require more attention to prevent oil absorption in natural stones. Concrete-look finishes, popular in quartz and porcelain, offer a modern aesthetic but can sometimes be more susceptible to showing marks if not maintained properly. Regardless of the material, prompt cleanup of spills is always the best practice to preserve the countertop’s beauty and longevity.
Best Practices for a Successful Stone Countertops Installation
A successful stone countertop installation is a multi-stage process that demands precision, expertise, and careful coordination. From the moment you decide to upgrade your kitchen to the final sealant application, every step contributes to the longevity and aesthetic appeal of your new surfaces.
The journey typically begins with an initial consultation, where we discuss material options, edge profiles, and layout considerations tailored to your specific needs and design vision. This is a critical planning phase where our team helps you compare granite, quartz, and porcelain based on your lifestyle, design preferences, and long-term performance expectations.
Following material selection, precise field measurements are paramount. This phase involves creating accurate templates of your kitchen layout, ensuring that every curve, corner, and appliance cutout is captured with exact dimensions. Professional measurement is crucial to guarantee a clean, precise fit and avoid costly errors during fabrication. We strongly recommend using rigid templates made from polypropylene sheets or plastic strips over less reliable materials like cardboard, which can easily warp or distort.
Once measurements are finalized, the fabrication process begins in our workshop. Here, skilled craftsmen cut, shape, and finish your chosen slabs according to the templates. This stage also includes creating custom edge profiles, preparing cutouts for sinks and cooktops, and reinforcing vulnerable areas.
The culmination of this process is the installation day. Our experienced team arrives ready to transform your kitchen. We begin with a “dry assembly” of the stone pieces on-site to verify the fit before any adhesives are applied. This allows for any minor adjustments to be made. Once the fit is perfect, the countertops are meticulously set in place, shimmed for perfect levelness, and securely attached to your cabinets. Finally, seams are carefully joined and color-matched, and the perimeter where the countertop meets the wall is sealed with a durable silicone adhesive to prevent moisture penetration and ensure long-term hygiene.
Preparing Your Cabinets and Substrate for Stone Countertops Installation
The foundation for a flawless stone countertop installation lies in the preparation of your cabinets and substrate. Stone slabs, especially those of 20mm or 30mm thickness, are incredibly heavy, and the underlying structure must be perfectly ready to support them.
First and foremost, the cabinet tops must be level and flat. Industry standards dictate that cabinet surfaces should be within 1/8 inch (3 mm) of flat and level over a 10-foot (3-meter) span. Any significant deviations can lead to stress points in the stone, potentially causing cracking or an uneven appearance. Our installers will always verify this before proceeding. If necessary, shims or other leveling techniques will be employed to achieve the required flatness.
Equally important is the quality of the templates used for fabrication. While some might consider cardboard, we strongly advise against it. Cardboard is susceptible to moisture, easily damaged, and can distort, leading to inaccurate measurements. Instead, professional fabricators utilize rigid templates, often made from polypropylene sheets or sturdy plastic strips (70-100 mm wide). These materials ensure precise dimensions and angles, which are vital for a perfect fit, especially for complex layouts with multiple seams or intricate cutouts.
Homeowners also have a crucial role in preparing their space. Before the installation crew arrives, ensure a clear and unobstructed path from your driveway to the kitchen. This means removing any furniture, decorative items, or obstacles that could impede the safe transport of heavy slabs. If existing countertops are being replaced, they must be completely removed prior to the installation date. Furthermore, have all cabinet doors, hardware, sinks, and plumbing fixtures on-site and readily available during the field measurement phase. This allows our team to account for all components and ensure perfect alignment.
What to Expect on the Day of Your Stone Countertops Installation
The day your new stone countertops are installed is an exciting milestone in your home renovation project. While the process is expertly managed by our team, understanding what to expect can help ensure a smooth and efficient experience.
Upon arrival, our installation crew will typically begin by conducting a “dry assembly.” This involves carefully placing all the fabricated stone pieces onto your cabinets without adhesive. This step allows us to verify the fit, check alignment, and ensure all seams meet perfectly before the permanent installation begins. Any minor adjustments, if needed, are made at this stage.
Once the dry fit is approved, the team will proceed with securing the countertops. This involves using shims to achieve precise levelness and then applying specialized adhesives to bond the stone to the cabinets. For certain areas or materials, additional mechanical fasteners might be used to enhance stability. Seams between slabs are meticulously joined using color-matched epoxy resins or specialized adhesives, aiming for a nearly invisible joint. The goal is to create a monolithic appearance, where the individual slabs blend seamlessly together.
As the installation progresses, you’ll see the cutouts for your sink and cooktop being finalized, ensuring they are perfectly aligned with your appliances. The edges of the countertops will also be finished according to your chosen profile. Finally, the perimeter where the countertop meets the wall will be sealed with a high-quality silicone adhesive. This not only provides a clean finish but also prevents moisture from seeping into the cabinets, protecting against potential damage and promoting hygiene.
Before our team departs, they will conduct a final cleanup, removing debris and ensuring your new countertops are pristine. However, there are a few critical homeowner responsibilities for installation day. It is essential that all plumbing, including sinks and dishwashers, is disconnected prior to installation. Our crew focuses solely on the stone work and cannot handle plumbing. Similarly, for cooktops, electrical or gas lines must be disconnected. You should also ensure the area is clear of personal items and that pets or children are kept safely away from the work zone. While we aim for efficiency, the duration of installation can vary depending on the project’s complexity and the number of slabs. Most countertop projects, from initial consultation to final installation, are completed within a few weeks, especially when sourcing affordable granite and quartz from dedicated suppliers.
Structural Support and Slab Handling Requirements
The sheer weight and inherent characteristics of stone slabs necessitate stringent structural support and careful handling practices throughout their lifecycle, from storage to final installation. Neglecting these requirements can lead to damage, warping, or even safety hazards.
Slab Weight and Overhangs: Stone countertops, particularly granite and quartz, are incredibly heavy. As noted, a 30 mm thick Caesarstone quartz slab can weigh up to 306 kg (675 lb). This weight demands robust underlying cabinet structures. When it comes to countertop overhangs, specific guidelines must be followed to prevent cracking or breakage. For 20 mm thickness slabs, no additional support is typically required for overhangs less than 300 mm (12 inches). However, for overhangs greater than 500 mm (20 inches), additional support becomes critical, often requiring legs, columns, or panels spaced at 600 mm (24-inch) intervals. For 30 mm thickness slabs, the cantilever limit is generally around 10 inches (250 mm) without corbel supports, provided it doesn’t exceed one-third of the total countertop width. For any overhangs beyond these limits, corbels, steel support rods, or full-panel supports are indispensable to distribute the weight evenly and prevent undue stress on the stone. Islands and peninsulas, especially those with significant overhangs or large cutouts, also require careful planning for support. This might involve extending cabinet bases, building custom supports, or integrating steel reinforcement into the design.
Handling and Transportation: Moving these massive slabs requires specialized equipment and trained personnel. Vacuum lifters, cranes with spreader beams, and A-frames are commonly used. When transporting slabs, they must be securely fastened with load-rated straps or ratchet tie-downs, with protective strips used to prevent damage from sharp slab edges. Slabs should always be transported vertically on A-frames designed for their weight, ensuring even weight distribution and minimizing flex.
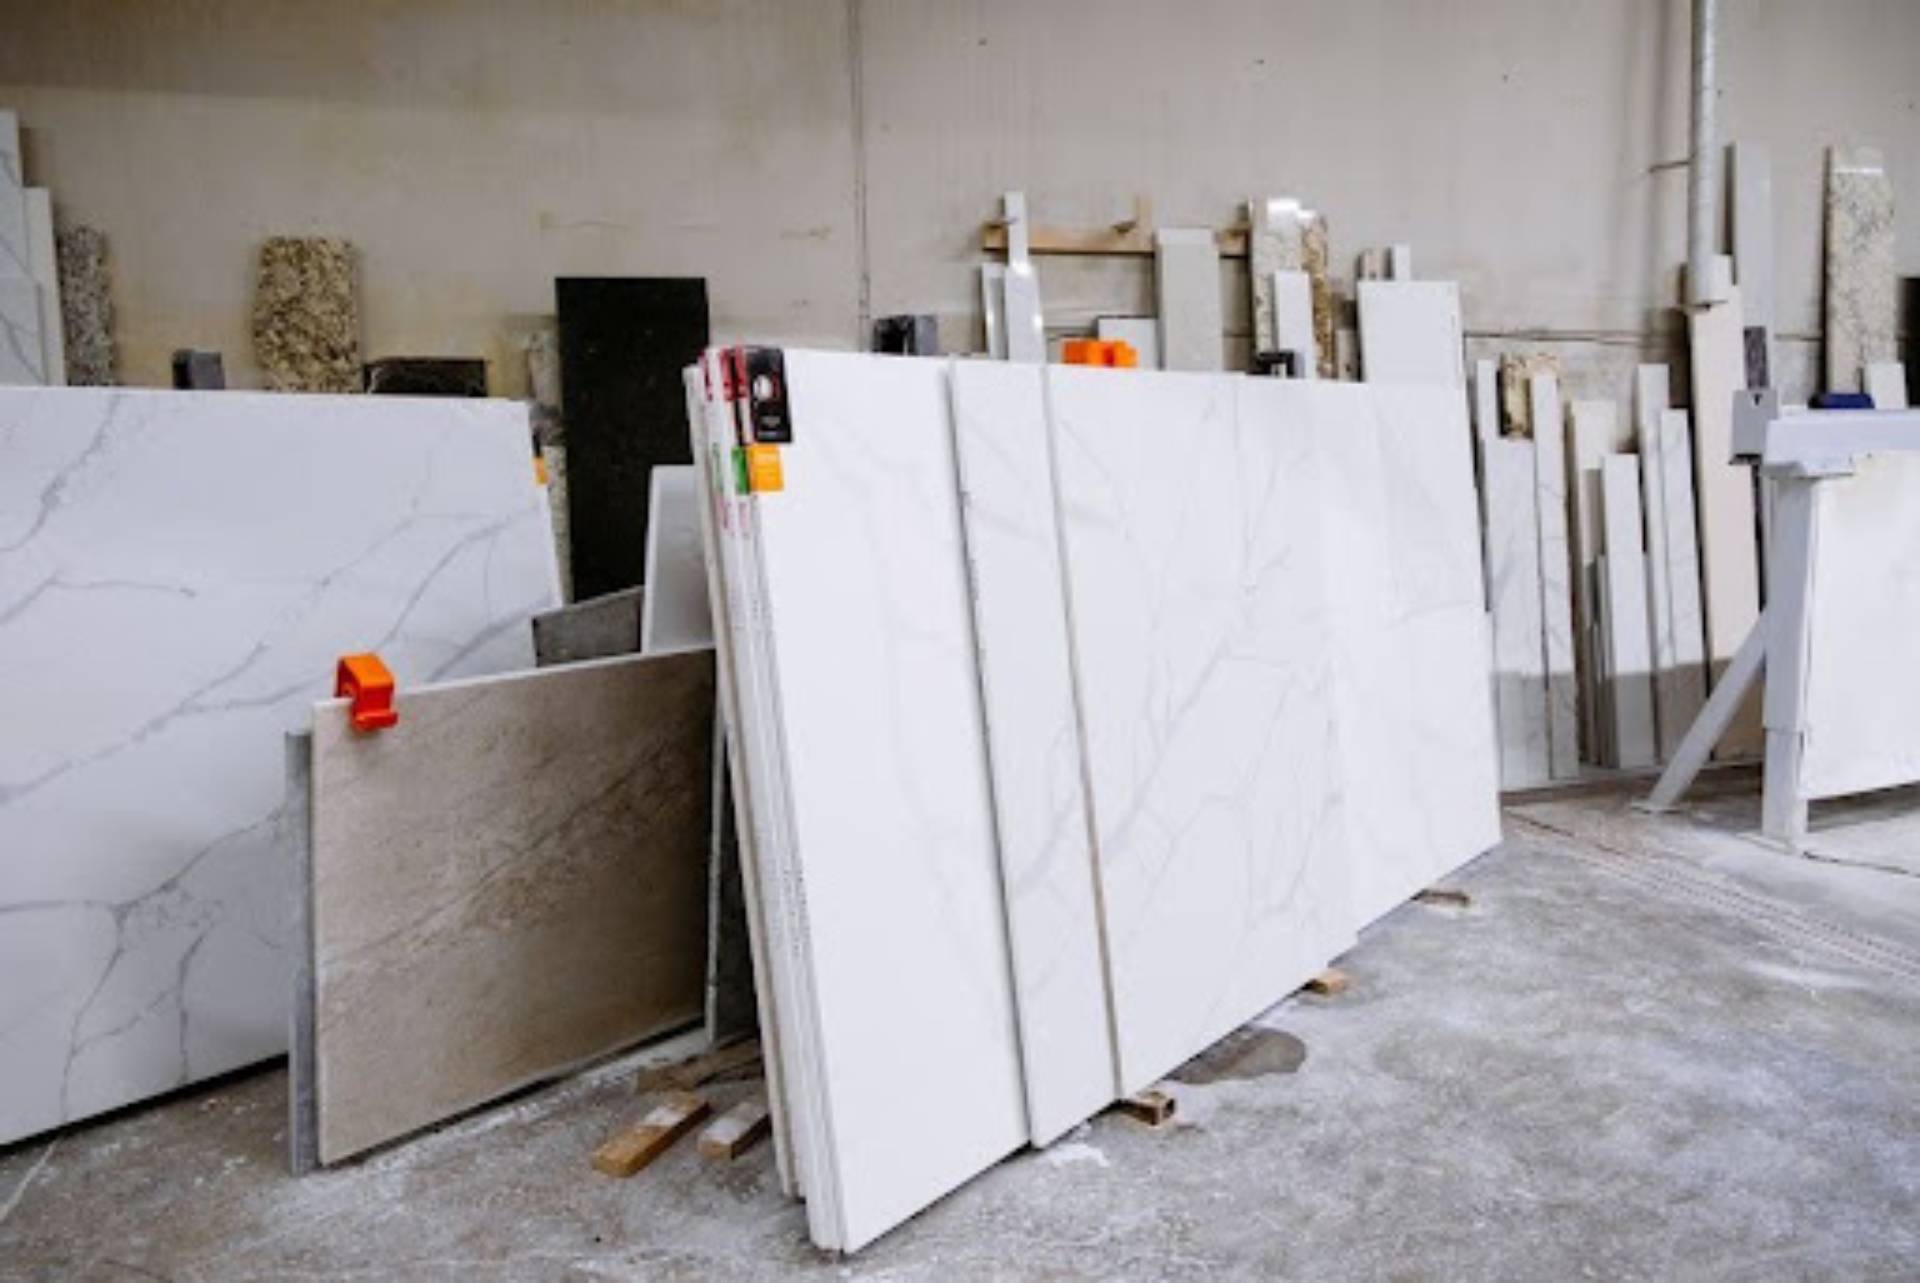
Storage Best Practices: Proper storage is vital to prevent damage and warping. Slabs should always be stored under cover, away from direct sunlight, which can cause some materials (especially resin-treated natural stone or engineered quartz) to warp or discolor over time. A-frames or specialized racks are used for vertical storage. It’s crucial to load A-frames symmetrically, adding or removing one slab from each side in turn, to prevent overturning. The maximum number of slabs permitted in a storage stack is typically 8 for 30 mm, 12 for 20 mm, or 10 for 13 mm thickness. For 13 mm slabs, additional support slabs (such as 30 mm or 20 mm) or a third support post on the rack may be necessary to prevent warping, especially in areas exposed to high temperatures. Slabs should be stored face-to-face and back-to-back with no gaps to prevent scratches and allow easy identification.
Technical Fabrication: Seams, Cutouts, and Safety Protocols
The precision and safety employed during fabrication are just as critical as the installation itself. This stage involves transforming raw slabs into custom-fit countertops, and it demands meticulous attention to detail and strict adherence to safety guidelines, especially concerning silica dust.
Silica Dust Safety: The fabrication of stone countertops, particularly quartz and porcelain, generates respirable crystalline silica dust. Inhaling this dust can lead to severe health issues, including silicosis (a progressive and often fatal lung disease), lung cancer, and other respiratory ailments. Therefore, safety is paramount. The industry standard dictates wet-cutting as the primary method for mitigating silica dust. This involves using water-cooled tools to suppress dust at the source. Additionally, all fabrication facilities must employ robust dust extraction systems with HEPA filters. Personal Protective Equipment (PPE) is non-negotiable for fabricators. This includes P3/N95 respirators or Powered Air Purifying Respirators (PAPRs), safety goggles, hearing protection, and non-slip steel-toed shoes. Regular cleaning of the workspace using wet methods or HEPA-filtered vacuums is also essential.
Seams and Joints: To create expansive countertop surfaces, multiple slabs must often be joined, forming seams. The goal is to make these seams as inconspicuous as possible. Proper seam placement is crucial, typically located in areas that are less visible or where the countertop changes direction. The standard joint width is minimal, often around 1/16 inch (1.5 mm), with a tight tolerance. Achieving a nearly invisible joint relies heavily on expert color-matching of adhesives. Fabricators use specialized epoxy resins or acrylic adhesives that are carefully tinted to match the specific stone color and pattern. Sometimes, a small amount of transparent adhesive is added to the color-matched mixture to enhance its properties and seamless appearance. Polishing joints on engineered surfaces like quartz is generally not recommended, as it can affect the material’s integrity and appearance.
Cutouts for Sinks and Cooktops: Creating cutouts for sinks and cooktops requires extreme precision to maintain the countertop’s structural integrity. A critical rule is the minimum distance between a cutout and an edge or seam, which should be no less than 50 mm (2 inches), and often 60 mm (approximately 2.4 inches) for engineered stones. This distance is vital to prevent cracking at stress points. Furthermore, all internal corners of cutouts must have a minimum radius to dissipate stress. For natural stone, a radius of at least 10 mm (3/8 inch) is recommended, while for quartz, a minimum of 15 mm is often required. Sharp, 90-degree internal corners create weak points that are highly susceptible to cracking. Fabricators often use a diamond cup drill to create these rounded corners before completing the cut.
Reinforcement (Rodding): For particularly narrow or vulnerable sections, such as the strips of stone in front of or behind sink cutouts, reinforcement known as “rodding” is often employed. This involves routing shallow channels into the underside of the stone and embedding metal or fiberglass rods within them using epoxy resin. Rodding significantly enhances the tensile strength of these fragile areas, preventing cracking during handling, transportation, and long-term use, especially when supporting heavy undermount sinks.
Frequently Asked Questions
What is the difference between a fissure and a crack in natural stone?
Understanding the distinction between a fissure and a crack is important for natural stone homeowners. A fissure is a naturally occurring geological feature within the stone. It’s a separation along intercrystalline boundaries that formed during the stone’s natural creation process. Fissures are inherent characteristics of natural stone, often appearing as fine lines or veins, and they do not typically compromise the structural integrity of the slab. They are part of the stone’s unique beauty and character. In contrast, a crack is mechanically induced damage. It results from external stress, such as impact, improper handling, transportation, or installation. Cracks are usually sharper, may propagate, and can indicate a structural weakness that could worsen over time. A professional fabricator can help distinguish between the two during slab selection and templating.
How are heavy undermount sinks supported during installation?
Supporting heavy undermount sinks is a critical aspect of countertop installation, as a full sink can exert significant downward tension on the stone. Water alone weighs approximately 8.33 pounds per gallon, meaning a 10-gallon sink filled with water adds over 83 pounds of stress. To prevent the countertop from collapsing or cracking around the sink cutout, several support methods are employed. The most common include:
- Auxiliary Framing/Subtops: A dedicated wooden or metal frame is built underneath the sink cutout, attached directly to the cabinets, to bear the weight of the sink.
- Sink Clips: Metal clips are attached to the underside of the countertop and secured to the sink flange, pulling the sink tightly against the stone. These are often used in conjunction with other support methods.
- Adhesive Bonding: High-strength epoxy or silicone adhesives are used to create a strong bond between the sink rim and the underside of the countertop. A combination of these methods ensures that the sink’s weight is adequately distributed and supported, providing long-term stability and preventing stress on the stone.
Why is dry cutting stone highly discouraged during fabrication?
Dry cutting stone, particularly quartz and porcelain, is highly discouraged and considered a severe health hazard due to the generation of respirable crystalline silica dust. These materials contain high percentages of crystalline silica. When cut dry, microscopic particles of this silica become airborne. Inhaling these tiny particles can lead to a debilitating and often fatal lung disease called silicosis. Silicosis causes irreversible scarring of the lungs, making breathing difficult and increasing the risk of other serious conditions like lung cancer, chronic obstructive pulmonary disease (COPD), and kidney disease. To protect workers, industry best practices mandate wet-cutting techniques, which use water to suppress dust at the source, and the use of comprehensive dust extraction systems with HEPA filters. Proper Personal Protective Equipment (PPE), including high-efficiency respirators, is also essential to minimize exposure and ensure worker safety.
Conclusion
Choosing and installing new stone countertops is a significant investment that enhances both the beauty and functionality of your home. By understanding the distinct characteristics of materials like granite, quartz, and porcelain, you can make an informed decision that aligns with your aesthetic preferences, lifestyle, and maintenance expectations.
However, the material choice is only half the equation. The success and longevity of your countertops hinge on a professional, meticulously executed installation. From precise templating and safe slab handling to expert fabrication of seams and cutouts, every step requires specialized knowledge and skill. Adhering to critical safety protocols, especially concerning silica dust, ensures a healthy environment for everyone involved.
Investing in professional craftsmanship guarantees not only a stunning visual upgrade but also a durable, stable, and hygienic surface that will stand the test of time. A thorough final inspection and understanding of proper care routines will preserve your countertops’ beauty and ensure your manufacturer’s warranty remains valid for years to come.